September's Little Box of Fabulous featured a new project card designed by Hazel from HazelA Patterns.With a new season upon us, it's time to get organised in the sewing room, or in my case, sewing space!
With this in mind here is the Keep-It-Close Organiser! This is designed to hook over the back of your chair to keep all those important pieces of sewing paraphernalia all together in one place! 😃
I used fabrics from the Cotton Couture range by QT Fabrics, which you can find on the website here. It's a quick and easy make and doesn't need very much fabric and would make an ideal gift for a sewists birthday or as a Christmas present!
The project card is available to download in my Etsy shop, which you will find here.
Back to some bag making for me! The bag pattern which went into September's Bigger Box of Fabulouswas for The Squiffy Sling designed by Mrsh, which is available to buy on my website! My subscribers to this box received fabrics from a new range by Art Gallery Fabrics, Flowerette by AGF Studio. For my bag make I chose to use the whales themed fabric from Dashwood Studio's range, Into the Blue. This is a fun range of fabrics featuring turtles, seaweed, tiny seahorses and jellyfish and goes really well with the Dashwood Twist in Viridian I used for the lining.
The Bigger Box for September also contained some very soft faux leather in navy for the overlay. I have a machine foot for sewing vinyl but it's not the best so I used the walking foot which came with my machine for the topstitching, sew much better! There is loads of info on the internet about sewing with faux leather, and if you've not sewn with it before then sew some samples first with different feet. Tip: lengthen your stitch when sewing faux leather into a seam, this will help to stop the stitches showing too much on the outside.
I made the small size and found that I needed more interfacing than the pattern stated, you will need 90cm not 1/2 yard. There is an errata on Mrsh's website about this error.
If you haven't any double sided tape to use on the top of the overlay to turn the edges over then you could use fabric glue which is what I did.
This pattern is a great starter pattern as there aren't many pieces. What I found unusual was the bag flap came as one piece with the full body of the bag! I've never come across that design before but it works very well.
You may have noticed that the design of fabric I used for the outside of the bag was a one way design. Because whales and dolphins swim around in all directions I wasn't too worried about how the flap would look! 😉😉 Tip: check if the fabric is a one way design before cutting out the pattern, this could affect how the flap looks from the front of the bag, i.e upside down, or not!
The lock which was in the box was a Prym Tuck Lock. These are very easy to install but if you are unsure then I have found a video for you to refer to. 👇
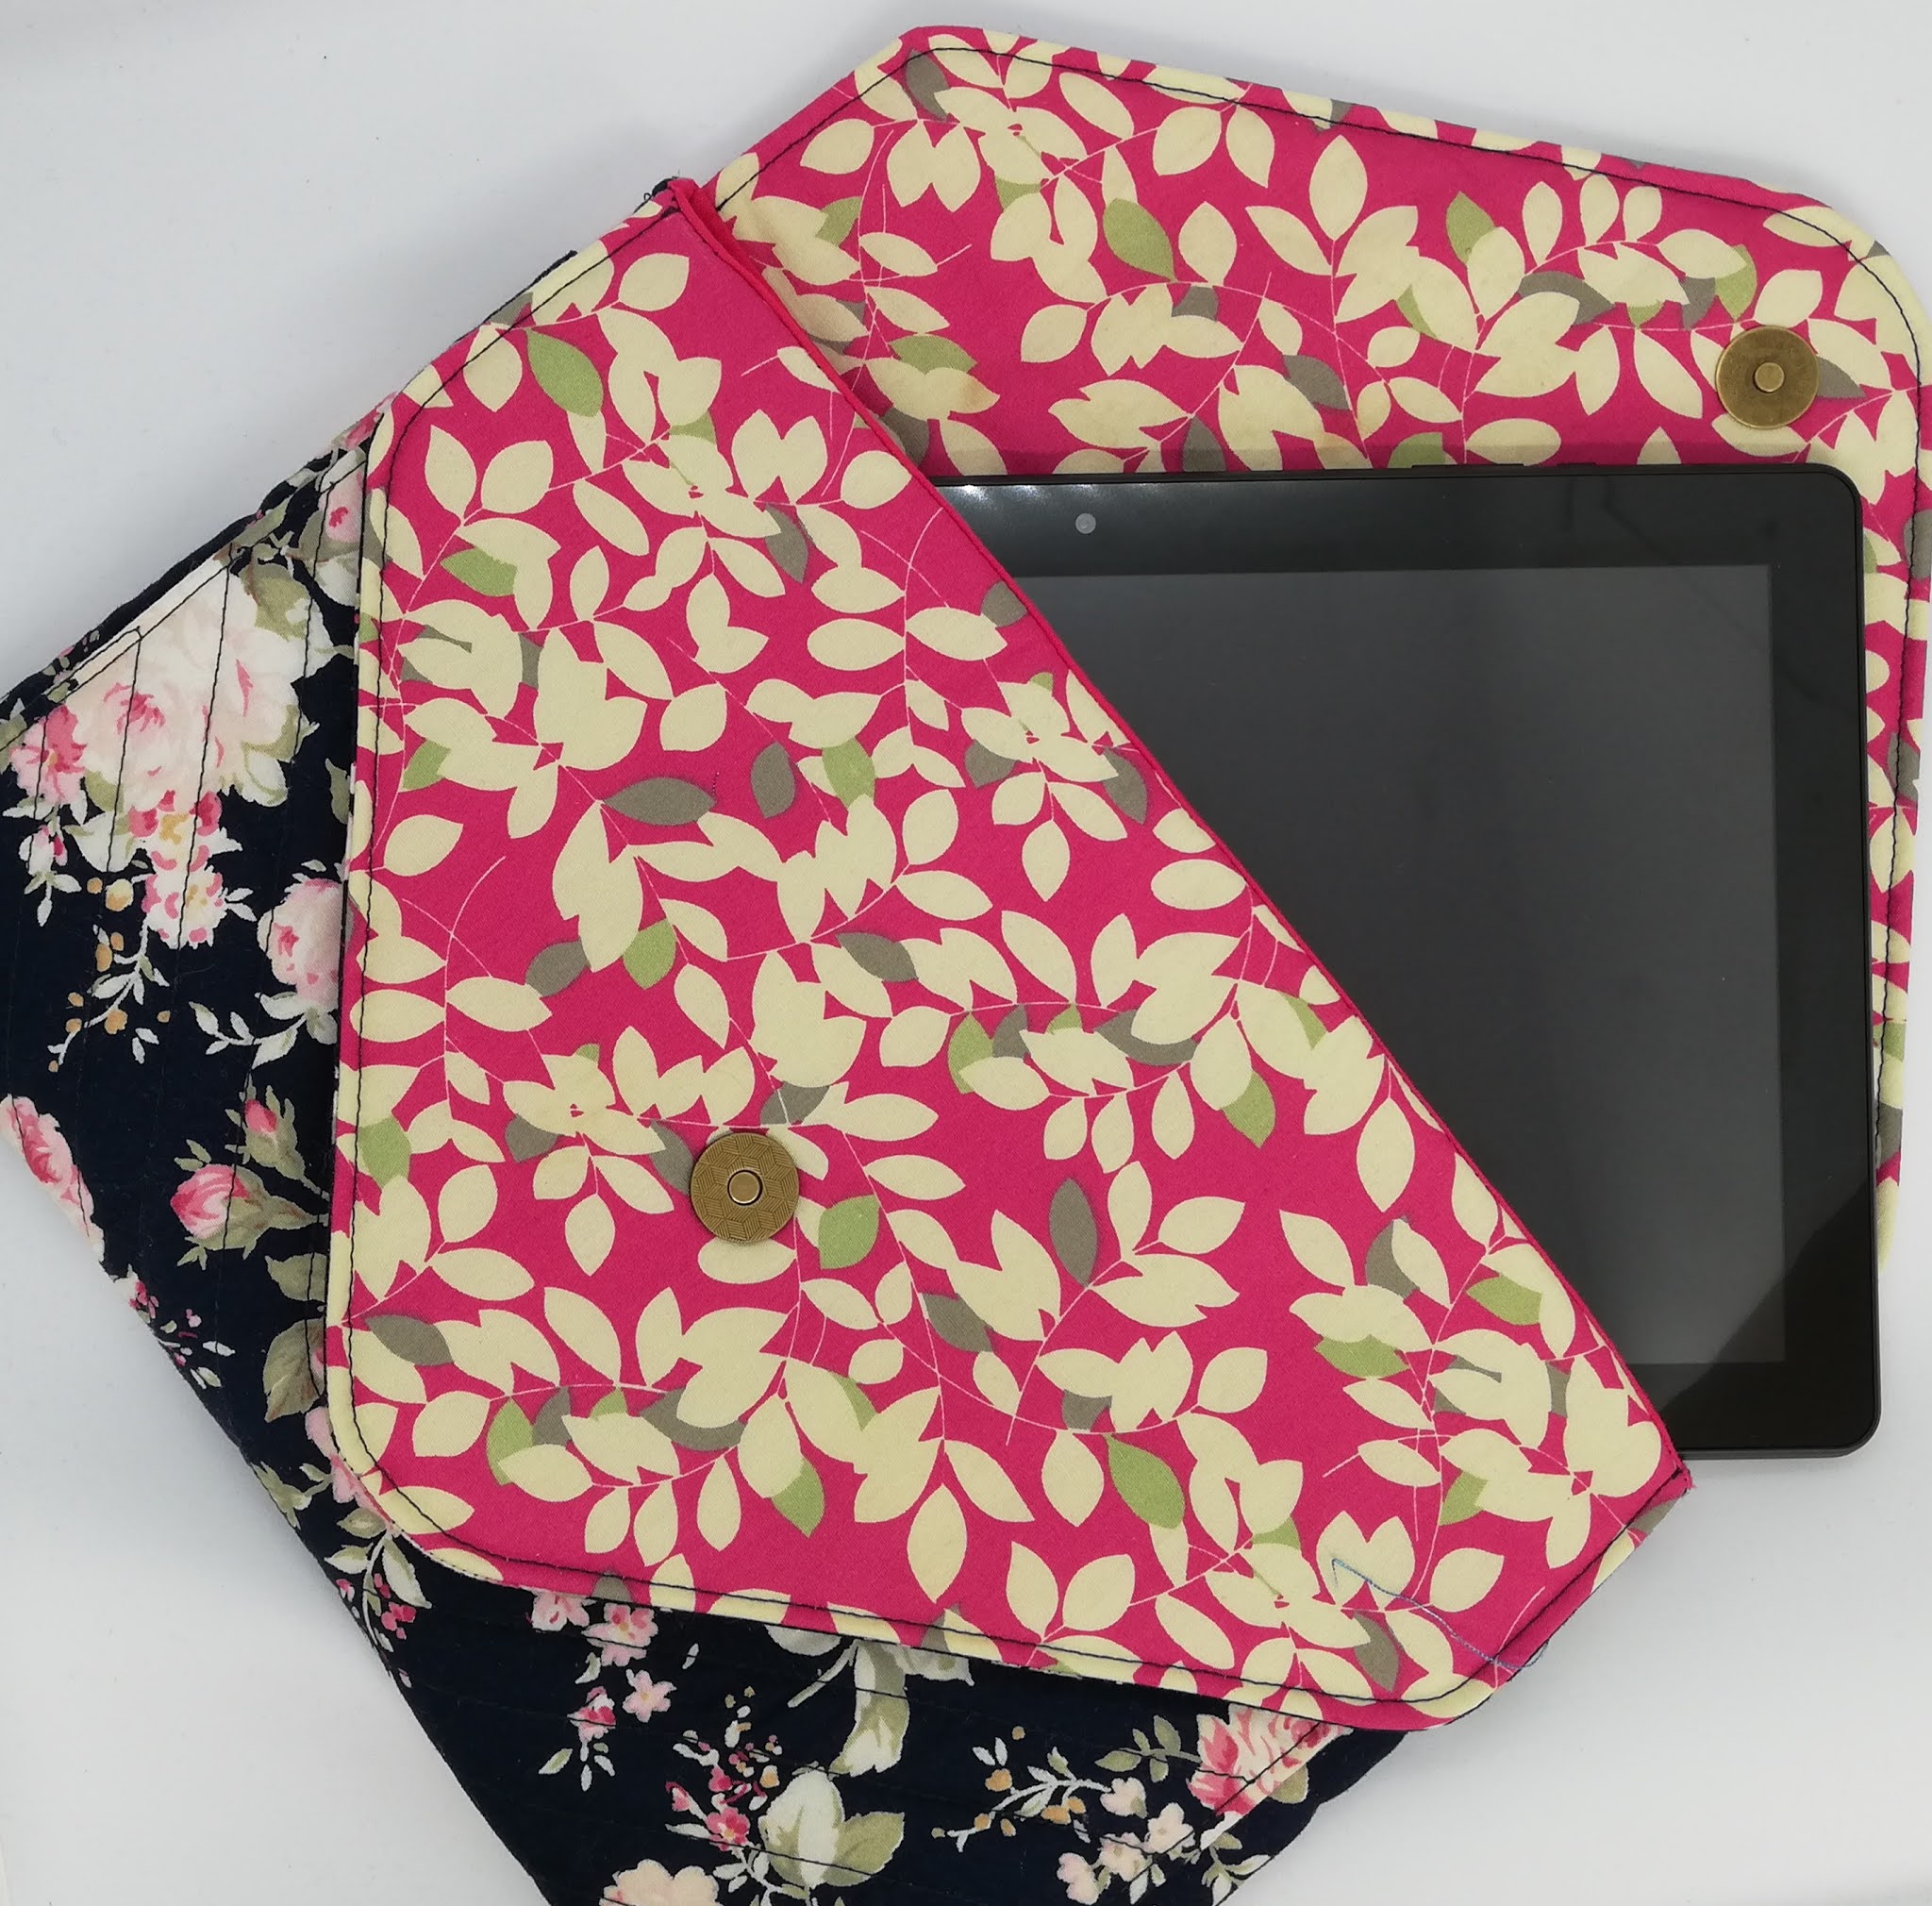
If you're anything like me you can never find your headphones, charger and power pack to your tablet when you're travelling! I'm going on holiday soon and Hazel's project which featured in July's Little Box of Fabulous came just at the right time! It's a lovely make, a quick sew and showcases your favourite fabrics.
Here is the Double-Flap Tablet Clutch!
I will be using mine for my tablet, but as the name suggests it would make a lovely clutch bag for an evening out and features echo quilting on the front pocket. For added detail you could use a metallic thread or variegated thread for the quilting, which would make it really special.
Showcasing the outside pocket.
The fabrics are from my stash, I've had them for so long I have no idea where they came from!
This would make a fabulous Christmas gift, you can purchase and download the pattern on Etsy.
This month's Little Box of Fabulous contained a project card for a very pretty fabric Jewellery Box, designed by Hazel Adam. I used the fabrics which went into July's box which were from Art Gallery Fabrics - 365 Fifth Avenue. 'Embellished with eye-catching florals mixed with mid-century geometrics, one imagines the chic trends of apparel and decor during the 1950's and '60's with these prints.'
The fabrics are now available to buy on the website.
Inside you will find plenty of pockets to keep your favourite jewellery and a wrapped centre section which is perfect for larger pieces. Use three of your favourite fabrics to make this beautiful box, and make one for your bestie too!
The project card for A Gift For Me Jewellery Box is now available to purchase and download here.
In my Bigger Box of Fabulous for July was a bag pattern for the Redwood Tote by Noodlehead, and this is my make. I have used the fabrics which were in the subscription box, Midnight Garden from Dashwood Studio. These are a cotton and linen mix and are a great fabric for this style of bag, two zips and some bag hardware complete the project.
If you received July's Subscription Box with this pattern I have a few hints and tips for you! Or if you would like to try making this bag you can purchase the pattern here on my website.
The fabric suggested on the pattern is based on 112cm wide fabric, the fabric I chose for the bag is 147cm wide. I cut all my exterior bag pieces including the base, handles and strap out of the rain cloud print, the piece I used was 50cm in length, and I used the stripe for the lining which was 60cm. With careful planning and measuring, I was able to fit the relevant pieces onto the different fabrics. There aren't any pattern pieces to cut and lay out, everything is cut with a ruler and rotary cutter or scissors, there is a suggested layout in the instructions.
The zips which were included were from zipping by the metre, I always use this kind of zipping, generally a #5 so I can cut it to whatever size I need. I allow a bit more then cut off the excess. Sometimes you need to put the zip pull onto the tape and I use the kitchen fork method! Below is a video showing how to do this, it's in German but it is only 1 minute long and visually very easy to follow.
The video below shows how to shorten a zip to the length you need. You could also sew some stitches the other end of the zip as well which would be the top of your zip. As the end of the zip will be enclosed in the fabric I don't usually do this but if you are worried about the pull coming off while you are working with it then go ahead. This method can only be used for nylon/plastic zips as metal ones are much more difficult to shorten!
Here is Hazel modelling the bag so you can get a better idea of the size.
This is the lining of the bag which has a double slip pocket sewn onto it. It's a fairly straightforward bag to make and if you are using directional fabric make sure you cut all the pieces out the same way, and sew together facing the same way, ask me how I know!
Introducing the Fabulous Fifties Frame Bag, designed by Hazel Adam!
The project card which was featured in June's Little Box of Fabulouswas for this bag and it's gorgeous! I used fabric from my stash, Cat-i-tude from Benartex and the purple spot from Makower.
The frame has holes in it so Hazel suggested sewing it onto the bag using delica beads as a decoration. As I didn't have delica beads in the right colour I used seed beads.
This is such a beautiful design, I can see it being used on many occasions! There is a pocket inside which fits a bank card and plenty of room for your makeup and other essentials!
I found the pattern easy to follow and a quick sew. Make more than one and give as fabulous gifts!
I know have kits listed on the website in two colourways, with more to follow. Find them here.
Wow! Where did June go?! Can't believe that we are in July, and today it's raining! It was my parents 60th Wedding Anniversary on the 25th June so I spent most of June doing a cross stitch as part of their present. When I was looking through photos for this post I realised I hadn't taken a photo of the completed cross stitch, so here is an almost finished pic!
June's Bigger Box of Fabulous which shipped to subscribers early July, contained a bag pattern from Mrs H, The Sassy Saddlebag. My mid year resolution 😍 is to make up the patterns and project cards which go into the boxes before they are posted! Fingers crossed! This is my version, the small size. I decided not to put the flap border on and I used chicago screws instead of rivets on the straps, I find these so much easier to use as you just make a hole in the fabric and screw the two halves together.
I cut all the outer pieces including the strap, from a half metre of fabric. What I love about this pattern is that you can make it your own by cutting the pieces out of various fabrics, or out of one design as I have.
Here is the finished bag!
If you would like to make this bag you can find the full size paper pattern available on my website, here.